You will need:
1/2 yard of fabric
coordinating thread
button
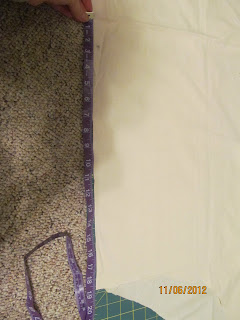
Step 1: Fold fabric in half, folded age nearest to you. If you want to go off of my dimensions I measured 10" up from the fold and 19" wide. (Once again, I do apologize for some of the pictures being rotated wrong. I changed them before I uploaded, but you know ... technology these days. sigh)
it should end up similar looking to this
Step 2: Fold all the selvage edges down and pin. I folded the left and right down first. Pinning a little less than a half an inch.
Step 3: Sew all of the pinned selvage edges so that they match the folded edge.
Step 4: Turning the fabric long ways, with sewn edges facing down. (I know my sewn edges are facing up, but ignore that. I obviously did some seam ripping ... grr.)
Step 5: Measure 10" from the top and make a light mark. This will be your crease, where you fold the fabric. Once you fold the fabric the selvage edges that you sewed will be facing you. Pin about 1/2 " from the edges.
Step 6: Sew along the pins then turn the fabric right side out so that you cannot see what you have just sewn.
Step 8: Pin the fabric on the flap down so that it is smooth and even with the rest.
and sew.
Step 10: Iron the flap down, so that it looks like the picture below. After this you can choose to add a button, or just leave it as is. If you go on to read I painted a pattern on the fabric and added a button to fasten it closed.
To make the mustache design I cut out a mustache and measured the middle of the fabric. From there I squirted fabric paint on a piece of cardboard and painted on the stencil of the mustache I made. I decided to make it multi-colored in a diagnol pattern. Then added a button. To do that I measured where I wanted the button then lifted the flap and stitched the button on the opposite piece of fabric. On the flap I cut a hole that would aquire the button.
And there we have it ... another 'stache-abulous creation! :{D


No comments:
Post a Comment