Showing posts with label Pillows. Show all posts

Friday, January 4, 2013

Owl Pillow

It is a long, complicated story as to how I know this little girl, but alls you need to know is that she's a little kiddo that's pretty dear to my heart. Her older brother, Jeremiah, was one of the boys I made a Ninjago pillow for. Savannah is only three, so what she wanted is a little tricky to figure out what to make. They go on a lot of long car rides so I wanted her to have a cute pillow that doubles as a stuffed animal and something to lay her head on. So then came this!

You will need:
-Three different colors of fabric (dark, light, and lighter)
-Stuffing
-Coordinating thread

Step 1) I like to fold my fabric in half so that I know it is going to be symmetrical. From there I sketched an oval with a triangle for the ear. Then, unfolded and got this.

Step 2) I cut out two white, larger circles for the eye sockets. Two smaller, darker circles for the pupils. A triangle in the dark fabric for the nose, and two oval tear drop shaped pieces in the darker fabric to look like wings. Depending on how large you made your silhouette for the owl is how big you should make these pieces.

Step 3) Place the pupils inside the lighter colored fabric and hand sew them using a basic stitch around the outside. Place the darker fabric in the lighter fabric at your discretion. I liked mine towards the corners to give it a more whimsical look.


 Step 4) (Oh my goodness! I am sorry again ... I made sure when I uploaded them on here that they were all rotated correctly in "My Pictures". Bear with me please.) I placed the eyes on the owls body to determine where the nose would go. Then, I hand stitched the nose down. While doing this I also sewed the eyes and wings down. I did that with my sewing machine.

Step 5) Pin right sides together and sew along the outside, leaving an opening large enough to add stuffing in. I like to put mine at the bottom, just so it isn't noticeable.

Step 6) Add stuffing and hand stitch the opening closed.

I know you'll have a hoot making this! ha ha ;)


Friday, December 28, 2012

Ninjago Pillow

The cute turd known as my little brother, Levi, is absolutely in love with this lego + ninja creation on TV that equals out to be called Ninjago. I dunno if you've ever heard about it, but personally I don't think you're missing out on much. I'm sure many little boys (and possibly girls) would happily disagree with me, but we're all entitled to our own opinion riiiggghhhttt? But the lil' kiddo just happens to be quite dear to my heart, so I had to put my feelings aside and be the greatest sister I am and make the booger a pillow.

You will need:
1 old t-shirt in the color of the desired ninja, or solid fabric
yellow, black, and white felt
yellow thread
stuffing

 Step 1) I started out with a 12x12 square folded in half then drew the dimensions from that. The top which is actually on the left in this photo (Sorry, the rotating would not work yet again... :/) is going to be about a half an inch longer and an inch shorter than the one on the right. Then cut along the lines and unfold.


 Step 2) Cut a rectangle 3 1/2 by 7 in. and fold in half. Start a quarter of an inch from the top and slope upwards and curve back down to make a "mask" shape.

 Step 3) Fold a yellow piece of felt in half keeping the mask folded in half and cut.

Step 5) Cut out two black felt circles. i used an inch in diameter as my measurement. Then cut and set aside.

Step 6) Cut out two eye brows. I made it to where they kind of went up on the ends. You can do this to your discretion.

Step 7) Cut out two smaller white pupils. Position and pin them to the yellow felt.

Step 8) I hand stitched the white pupils to the black felt first. Then hand sewed the eye pieces to the yellow mask and lastly I sewed the eyebrows so that I could place them accordingly with the eyes. (Sorry for saying accordingly twice.. I have minimum vocab.) 

Step 9) Pin the yellow felt onto the ninja and sew using yellow thread attatching the mask onto the pillow. From here turn the pillow inside out and pin leaving an opening for stuffing. Sew.

Step 10) Turn right side out and stuff. Then, sew the opening closed.


There we have it, Lloyd and Kai. 
Masters of Spinjitzu!

Monday, November 5, 2012

Mustache Pillow

At the end of the week is my best friend, Allison's birthday. She has an obsession (I stress obsession) for mustaches. Why? Nooo clue. Anyways, I was kinda stuck on what to get her. I wanted it to be something no one else would get her yaddi yaddi ya ... And somehow I came up with a 'stache pillow. Cool? I know. :)
So if you wanna join in on the weirdness of sleeping with facial hair it is my pleasure to present you this tutorial!


You will need:
1/2 yard of fabric
Stuffing
Coordinating thread
Paper & scissors (for the pattern)

Step 1: Measure the width of your mattress, in my case I was measuring for a twin which is 36 inches wide. You do not have to measure it accordingly to your bed, but I did so it would sit nicely in the middle. However, you can make it as long as your little heart desires.

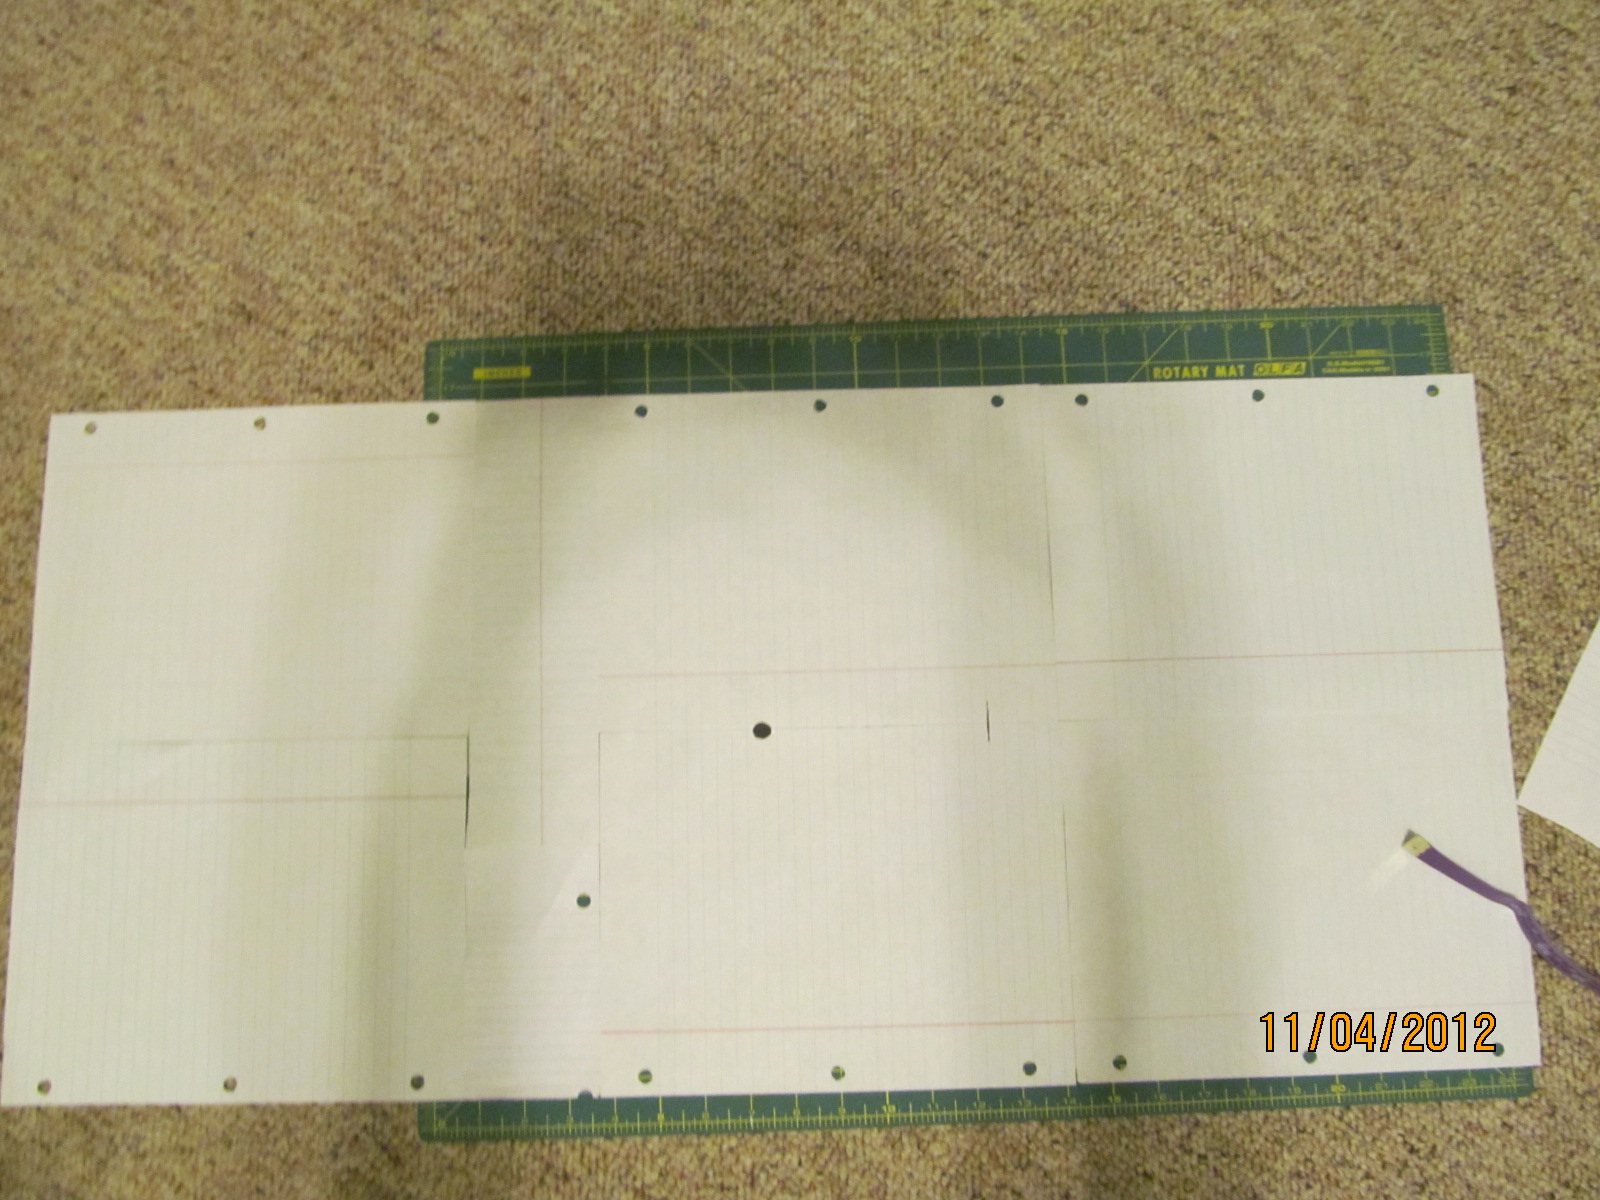
Step 2: Because I totally spaced at Hobby Lobby last weekend and didn't get a long roll of paper for pattern making I had to improvise and I duct taped loose leaf notebook paper together. Hillbilly, I know.

Step 3: Cut the paper to your desired width leaving at least two extra inches. Measure the center of the paper and make a mark. See that black dot? Yup, that's the center.

Step 4: Fold the paper in half hamburger style, if ya know what I mean. (Left to right) Sketch sort of a paisley design starting at the dot. It will look a little weird, but hang in there. Once you cut it out it'll surprise you how mustache like it really does look.

Step 5: Cut along your marked area. Unfold and WALLAH! You have a giant 'stache. Try it on for size ... I did! :)
Step 6: After any adjustments and trimming (ha ha, get it? :)) fold back in half and line up the pattern on the folded edge of your fabric.

 Step 7: Cut, and repeat Step 5 so that you have two mustaches. (Sorry for it being rotated the wrong way. Apparently my rotater is broken!)

Step 8: Pin right sides together and sew. Be sure to leave 4 inches or more depending on the width of your hand so that you can stuff it. I left the opening at the bottom of the mustache where it comes up.

Step 9: Turn the mustache so that the right side of the fabric is out. Begin stuffing starting at the tips and working your way towards the hole. There is no right or wrong amount of stuffing to use. I wanted mine to be stiffer, more for decoration rather than comfort to sleep on.

Step 10: Here comes the least favored part .... hand stitching. Double sad face. :( :(
Using coordinating thread sew the opening shut being sure it's secure.

 And WALLAH! You have a 'stache-abulous pillow! :{D